
Asher Kelman
OPF Owner/Editor-in-Chief
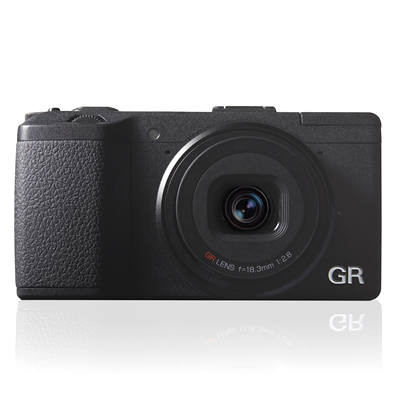
I have the privilege of being an Ambassador for the Ricoh GR digital camera and get the opportunity to use the camera for my own work and share with you the results. I'll report here how I've used the camera and leveraged its automatic bracketing ability, to take panoramic images. Something I've been doing for some time, as the panoramic view, is to me, the scene pumped up with power and pizazz!
The sweep of view of a panorama is spectacular when it allows one to experience, in one glance, what one can only get to realize in real life by moving ones head all around to gather the scene! If done well, it can convey drama that even exceeds the actual visit! Of course, it's not better than being present and having sounds and scents and actual presence of the place.
My methods have been from using ultra wide, lenses such as a 14mm or else an 8mm fisheye, de-fished, or else the Zork tilt shifter with Pentax 6x7 lenses, wide view cameras, Gigapan Robot, a 360 degree Pano head by Really Rights Stuff to name a few of the most sophisticated highly accurate approaches.
However, stitching overlapping sections of a scene requires little to no equipment. One can dispense with the heavy tripod and just handhold the camera. All one has to do is generously overlap and try to keep the center front of the lens in the same point in space, no matter what angle the camera is held at.
If one avoids close objects, (for which parallax errors become obvious), then Kolor.com's Autopano Pro or Autopano Giga can stitch the pictures in 2-10 minutes as id you'd taken the view with an ultrawide camera lens. In Autopano software, one has many options. I routinely configure it for "multiple viewpoints" for handheld shots and have the output in .PSB or .PSD files in layers, (for each of the bracketed steps of bracketed exposures) and pictures, so that in one photoshop file, one can, in the end, decide to use for some part of the large complete panorama, a portion of one particular layer where some missed out detail is waiting to be added back! I'll give an example of this is a separate thread. But want to mention that one has to have one's eyes open and avoid overlooking stitching errors that can occur with this method, but which can be readily repaired by adding back a correct feature from one of the original layers.
Although I use mostly Autopano Giga, one can use Gigapan stitching software, Photoshop or any other stitching software that one is familiar with.
In the end, when stitching is done, the software will usually allow options for how the image iso objected, as a flat 2D rectilinear plane, a cylinder, a sphere and so forth. It's always worthwhile to explore which projection works best for that particular subject, lighting and composition. A good idea is to use the software's capability to fix the horizon and make verticals true before rendering.
So, having given this long preamble, to admit that it does take attention to some details, here are some recent panoramas I've taken with the Ricoh GR using either the 28mm lens or else with the add on adapter to make a focal length of 21mm.
For those who do not know:
The Ricoh GR and Ricoh GXR digicams can be set to take 3 bracketed images with one shutter press. That's how I routinely work and this makes for a simple way to avoid blocking out shadows or highlights too much.
Hope you enjoy these images. I had a lot of fun making them! Please freely add your comments!
Asher

![[Group 2]-_R078104__R078139-36 images__"Trees", Beverly Hills CA B&W.JPG](/forums/proxy.php?image=http%3A%2F%2Fopenphotographyforums.com%2FAK13%2F%5BGroup+2%5D-_R078104__R078139-36+images__%22Trees%22%2C+Beverly+Hills+CA+B%26W.JPG&hash=31133f3440a3a4a26153db9e75da24ff)

![[Group 6]-_R077971__R078003-31 images__Steps before Resnick Pavillion UCLA.JPG](/forums/proxy.php?image=http%3A%2F%2Fopenphotographyforums.com%2FAK13%2F%5BGroup+6%5D-_R077971__R078003-31+images__Steps+before+Resnick+Pavillion+UCLA.JPG&hash=38eeb624a6a000192906ae435bf2667f)
![[Group 6]-_R077971__R078003-31 images__ Publicity Artwork_.JPG](/forums/proxy.php?image=http%3A%2F%2Fopenphotographyforums.com%2FAK13%2F%5BGroup+6%5D-_R077971__R078003-31+images__+Publicity+Artwork_.JPG&hash=889523576600c35ee7ff02219988ad90)


")