Karl,
When I say, "always" ..... name it XYZ or anything else, I mean, to get a good result fast and please ~97% of folks, but it's not some law but rather "lore". In portraiture, you might very well want to have one side of the face in shadow or to accentuate features well, (cheek bones in fashion models) or large chin, lips, forehead, (for villains). However, to serve almost all needs for event photography, news reporting and theater and school pictures, sports and the like, open close, massive and even lighting gives a really agreeable image with few if any complaints.
However, to get drama, panache, intrigue and more, one needs shaping of the body with poses, gestures and facial expression as well as increasingly sophisticated lighting. That's where a book on lighting or work with an experienced pro is important. Books and a plastic/ceramic mannequin head are the greatest value. You do not need to arrange, wait for, pay, entertain, tolerate, chaperon or feed your model. That alone would be a bargain! While books are gifts, almost for free, from the rest of the photography world to us! They represent a hundred years of collective experience of countless photographers and we can have it in the most efficient form devised: a book, which runs without batteries!
My late father-in-law used a ceramic mannequin head for his exrcises, with just light from the overcast sky and reflectors or black board. That approach has always impressed me most and when there's northern window light or else cloud cover even under an overhang for shade, you're set for the greatest portraits with almost no gear at all!
So I'd suggest working two tracks for your portrait and glamor photography:
- Mannequin as model: "Light, Science and Magic, your "bible" plus one "lighting for portraits" book, your mannequin head under simple overcast skylight, Northern window light, or bright sun, (diffused by a white sheet or modifier and reflectors), for testing out new sets of lighting skills.
- Every day shots of people: the largest, (for the circumstances), diffused close light and you'll please clients and yourself right away, each and every time. (A white card held by a friend behind you and shooting towards it with a diffuser covered camera flash works just fine!). Using anything large and neutral as possible to reflect off and always carry a gray card to take a reference shot for that light, there, in that part of the room or outside space!]
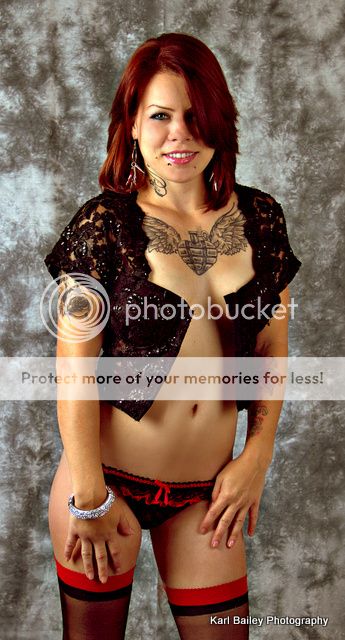
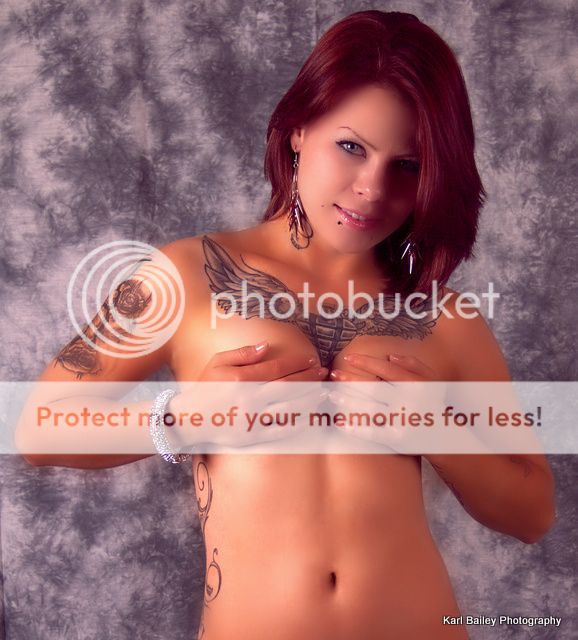
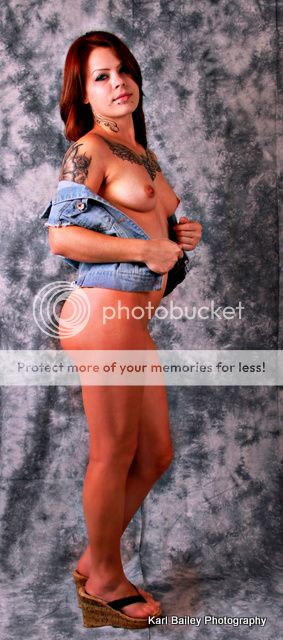
Share your new pictures of Brandy here, so all can benefit. It's always interesting to watch someone's lighting style evolve. Also you can get feedback at each step of the way!
Good luck!
")
Asher
BTW, if my trusted friend,
Frank Doorhof offers a course near you, sign up. I've worked with him and I'd even repeat it after a year and you'll not regret the expenditure. But first get
Light, Science and Magic!