As usual, LATE to the party...
...Well, just found this wonderful thread, and wanted to provide some input.
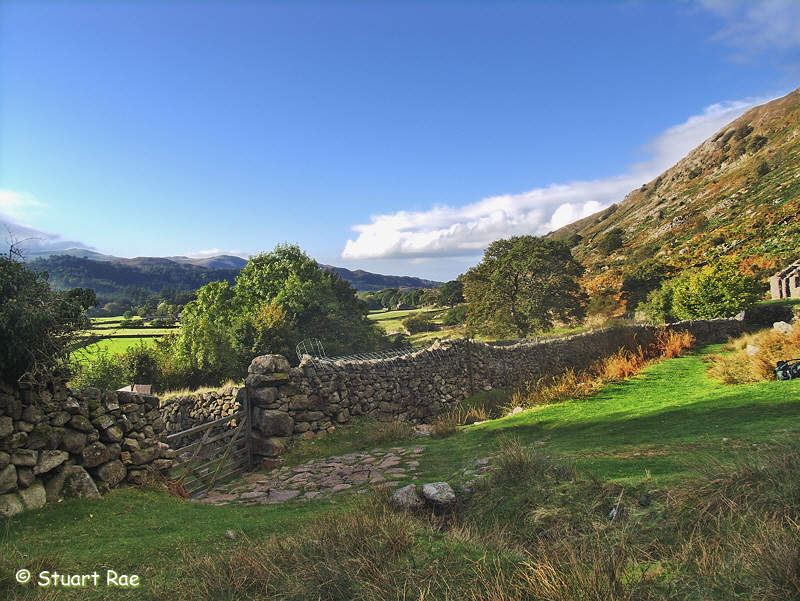
My interpretation of the scene calls for an image as crisp and natural looking as possible, with a touch of "film-like" contrast. Not subdued, but not overdone / "steroidized", either.
It also calls for recovering the dramatically ill skies, in which the blue channel has been skewed to the far high-key end, as product of the strong "backlight" created in the left corner, by the sun.
So our mission here is to recover as much as we can from the sky, making it BRIGHT BLUE (not pale, not dark), while still retaining the tonal crispness/brightness that the scene lends itself for,with MAXIMUM possible dynamic range in the 48 to 255 value-range.
As a side note, the sky on its original capture offers a complex, concentrically-aligned gradient of midtones-to-highlights, which needs to be carefully handled and preserved during post-processing. Also, the B&W version tries to mimic, to some extent, the balance of dynamic range/contrast/sharpness and overall "character" found in Ansel Adam's book "The Making of 40 Photographs", which is a must-have, for sure.
Having said that, here is the first version (COLOR):
http://www.pbase.com/feharmat/image/65323230/original
The above was produced with the following workflow:
a. FLEXRanger (for DR expansion and blue-channel optimization).
b. FLEXTone (for tonality and density boosting, particularly of mid-tones)
c. Curves in PhotoShop (for final "interpretation" of contrast. I chose to be particular aggressive on the 0-48
range).
d. FLEXSharp (for bringing as much detail as possible)
Here goes the second version (B&W):
http://www.pbase.com/feharmat/image/65323231/original
Exact same workflow as above, with the exception of B&W output mode in FLEXTone, and a slightly different curve.
Thanks for sharing the original files!

![url]](/forums/proxy.php?image=http%3A%2F%2F%5Burl%5Dhttp%3A%2F%2Fwww.brightwater-magic.com%2Fparking%2Ftudor_Aut05_lzn04.jpg%5B%2Furl%5D&hash=f6b4bbfde2fc1584c48d195754109bd9)
")