Mike Shimwell
New member
Hi Dawid
The 7 is a lovely camera, although like you I will sometimes run into issues with the minimum focus distances. Often that is when I would be using my 35mm camera in any case, though I can see the case for a MF slr like the RB as well.
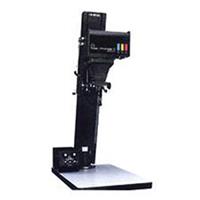
At present I am scanning, but I am in regular contact with a local shop waiting for the irght secondhand enlarger/lens to arrive. Then I'll need to convince Sue about darkening a room...
Mike
The 7 is a lovely camera, although like you I will sometimes run into issues with the minimum focus distances. Often that is when I would be using my 35mm camera in any case, though I can see the case for a MF slr like the RB as well.
At present I am scanning, but I am in regular contact with a local shop waiting for the irght secondhand enlarger/lens to arrive. Then I'll need to convince Sue about darkening a room...
Mike
")