Mitch Alland
Moderator
Code:
It's been a revelation because RPP does a much better job in raw development than Aperture or ACR: it simply produces better resolution and better color. Considering how good the GXR-M files are, it's worthwhile to optimize their quality by using RPP. I started using RPP at first to see how how much I was over- or under-exposing when I started "exposing to the right", but then saw that I could get better results with RPP than with Aperture. I've also seen comparisons with ACR, the raw developer used by Photoshop and Lightroom: the results with RPP are clearly better. Indeed, RPP gives very film-like results — you can stop missing Kodachrome.
If you decide to use RPP, one caveat is that you need to devote some time to learn it: when you first see a file opened in RPP, it looks awful because the program doesn't make any automatic corrections — read the RPP documentation and you'll see why.
Some practical information:
RPP has a steep learning curve because it works so differently from Aperture and Lightroom, but I think the effort, even just in terms the increased resolution over other raw developers is worth it. In the manual there is a description of the work flow, but it takes a bit of study of the software to make sense of it. What I've been doing is the following:
1. Set the B&W balance if there is neutral gray in the picture (Command-click on the neutral area);
2. Select the KR64 color film curve;
3. Select the exposure using Compressed Exposure;
4. Set the Black Point (try 0.3 or 0.6); and
5. Set the Saturation (try 30-50).
I'm not sure, but maybe step 3 should come before step 2. Step if is not always necessary, but in some cases is essential.
Remember, RPP is only a raw develop and you may want or need to do colot correction or contrast changes in Aperture, Lghtroom or Photoshop. There is an option in the File Menu called "Optimize for post-procesing on Save", which saves a files with slightly less contrast to give 5% headroom for further processing in image editing software. BTW, I found the following list for the meaning of the film presets:
A25 B&W = Agfa APX 25
P50 B&W = Kodak Vision2 50D
Duo = Technicolor 2-Strip
P160NC = Kodak Portra 160NC
A100F = Fujichrome Astia 100F
K64 = Kodachrome 64
V50 = Fujichrome Velvia 50
TC4 = Technicolor System4 Dye Transfer (Technicolor 3-Strip)
LF = Kodak Ektar 25
As I said, the thing is to persevere, and you can get a real payoff. Learning darkroom development and printing required much more of an effort.
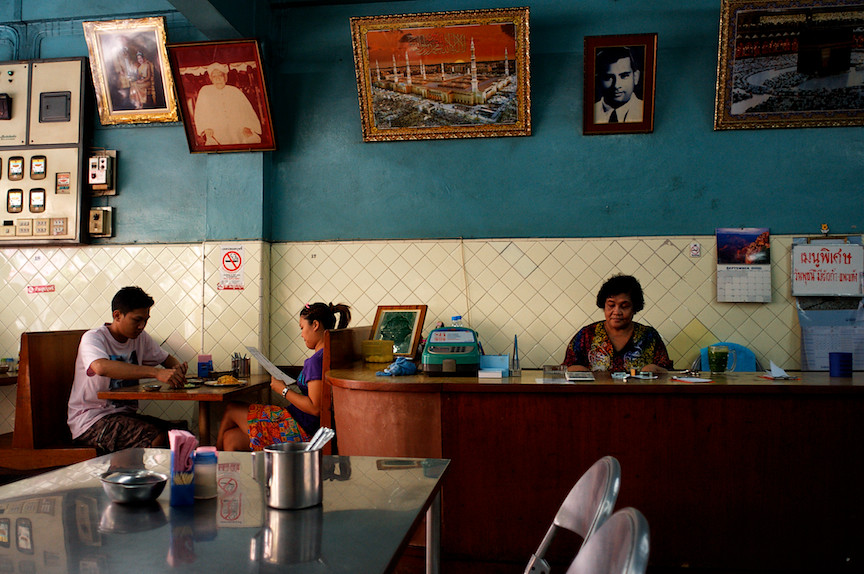
The following five color pictures were all taken with the GXR-M and the Leica Elmarit-21 ASPH lens and developed in RPP, with slight adjustment in Aperture. I also processed all these pictured in Aperure and the results had less resolution and the colors were simply not as good. I'm also posting a B&W picture (taken with the Tele-Elmarit-90) that illustrates the type of photograph for which RPP's higher resolution is a great advantage. [Note: the last two pictures are in the response to this posting, owing the the 4-picture posting limit here.]


—Mitch/Chiang Mai
Ricoh GXR M-Module